# Spring教程 - 14 国际化i18n
# 14.1 什么是国际化
国际化(Internationalization,简称 i18n,中间省略了18个字母)是指让应用程序能够适配不同语言和地区的过程。一个经过国际化的应用,可以轻松地切换不同的语言显示,而无需修改代码。
如果你的应用需要支持在不同的国家和地区运营,就需要对自己的应用进行国际化处理。想象一下,你的应用需要支持中文、英文、日文等多种语言,如果为每种语言都写一套界面,那将非常麻烦。Spring 提供了强大的国际化支持,让我们能够轻松实现多语言功能。
# 14.2 消息源
Spring 的国际化功能主要依赖于 MessageSource 接口,它定义了获取国际化消息的方法:
public interface MessageSource {
    String getMessage(String code, Object[] args, String defaultMessage, Locale locale);
    String getMessage(String code, Object[] args, Locale locale) throws NoSuchMessageException;
    String getMessage(MessageSourceResolvable resolvable, Locale locale) throws NoSuchMessageException;
}
2
3
4
5
Spring 提供了几个 MessageSource 的实现类,最常用的是 ResourceBundleMessageSource 和 ReloadableResourceBundleMessageSource。
- ResourceBundleMessageSource:是基于 Java 标准的
ResourceBundle机制,依赖 JDK 的资源加载方式,只能从类路径或文件系统加载资源,资源文件只在应用启动时加载一次,修改资源文件后需要重启应用。 - ReloadableResourceBundleMessageSource:使用 Spring 自己的资源加载机制,可以处理任何 Spring
Resource支持的位置(classpath、file、URL等),不依赖 JDK 的ResourceBundle,支持热加载,可通过setCacheSeconds()设置缓存时间,表示多久刷新一次,在开发时可设置为-1,表示禁用缓存。
# 14.3 Spring实现国际化
下面就使用 Spring 来实现国际化。
# 1 创建资源文件
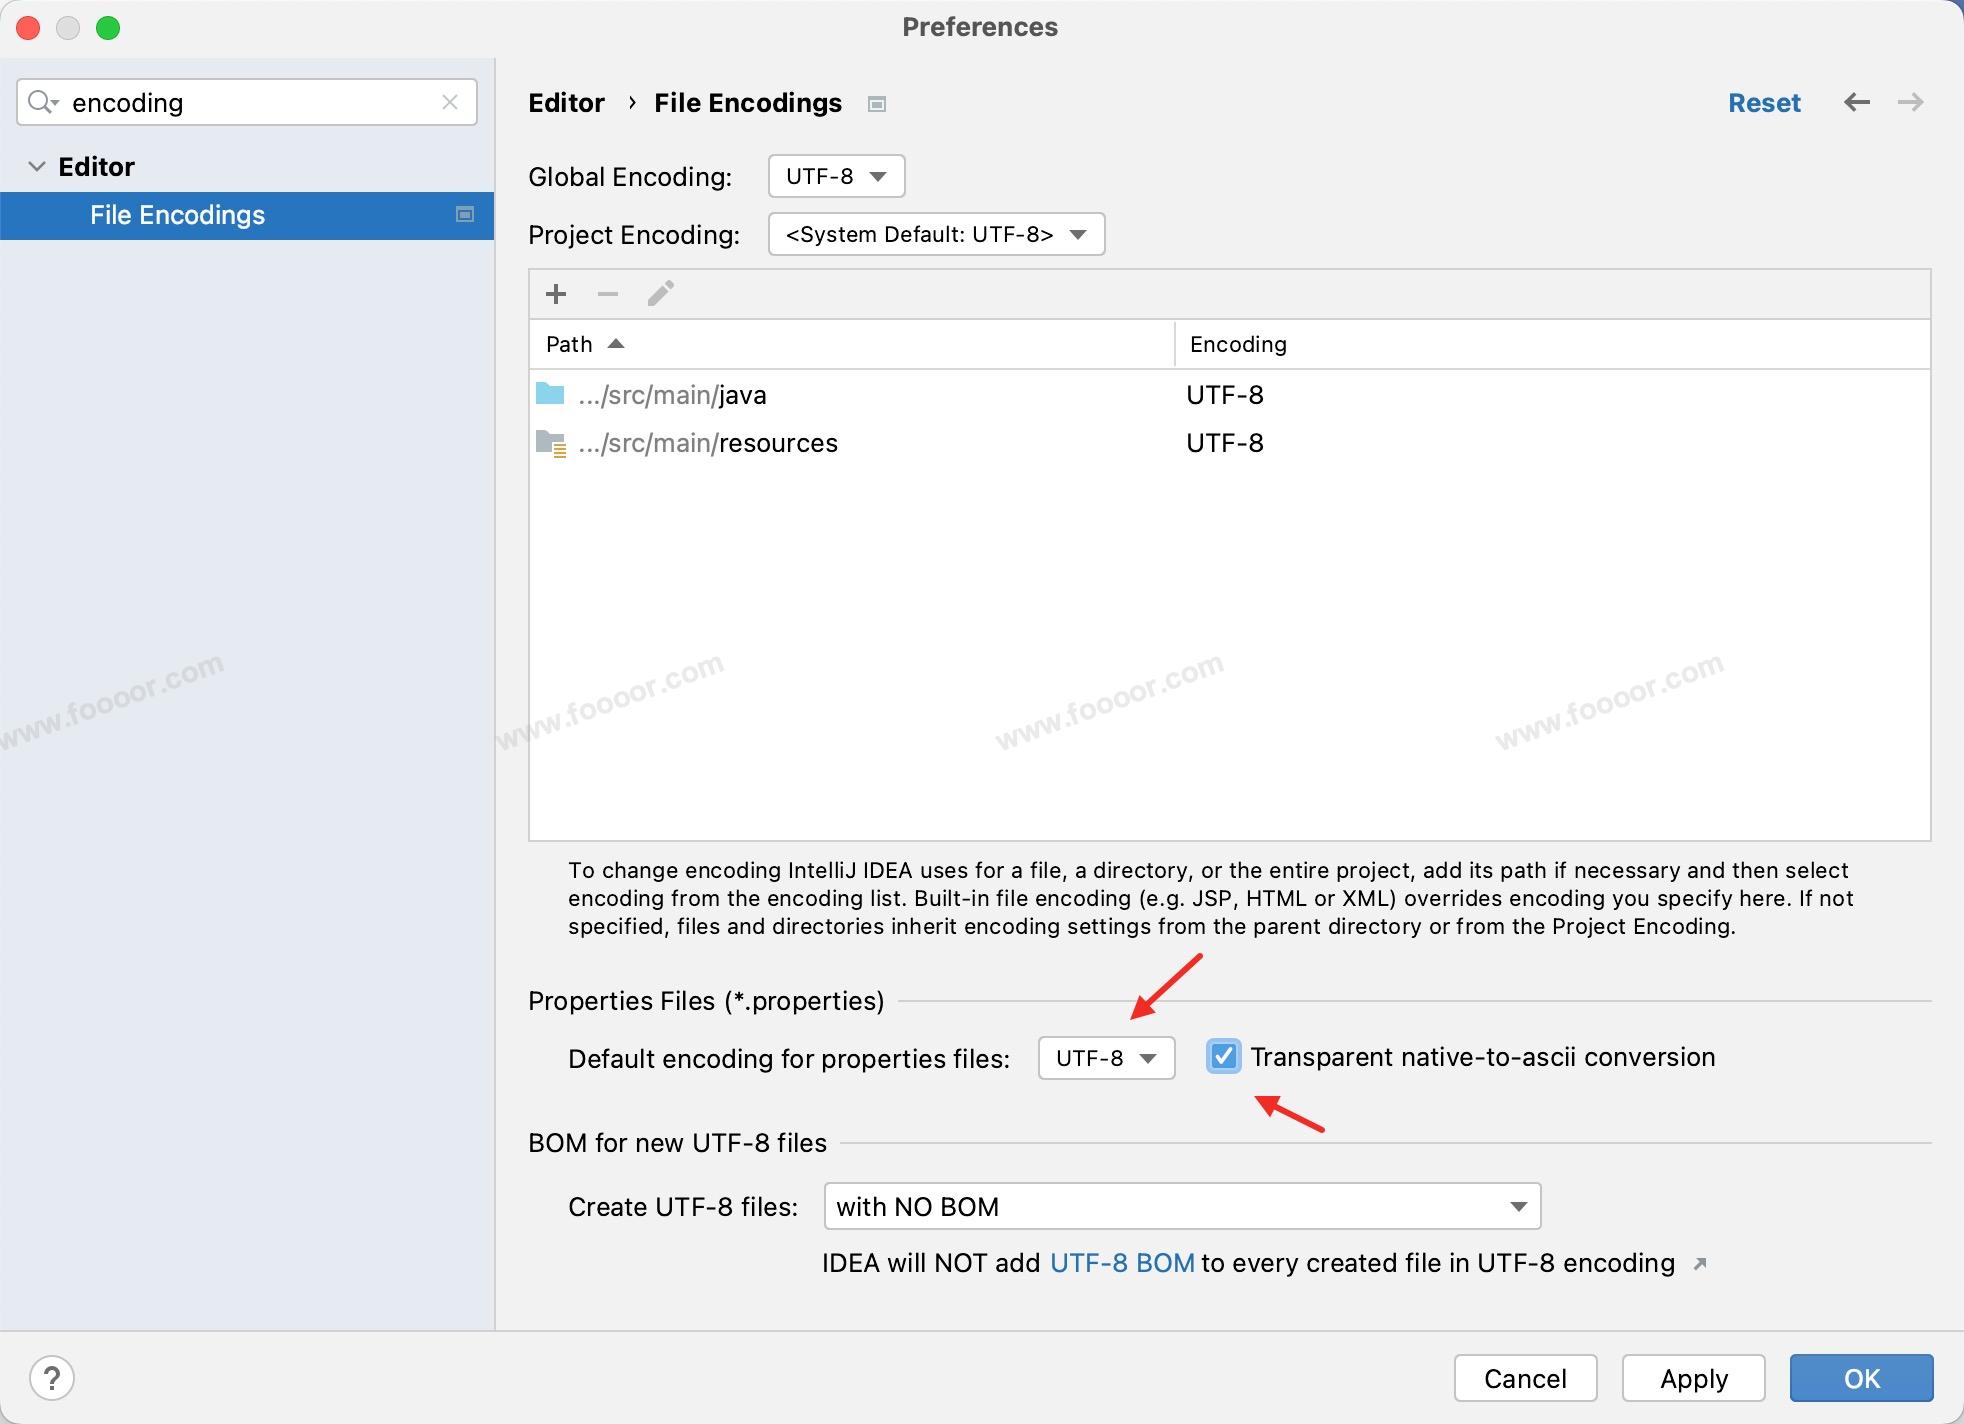
在创建资源文件之前,先检查一下 IDEA 的编码:
在 IDEA 的设置中,搜索 encoding ,查看一下 properties 文件的默认编码,设置为 UTF-8 ,如下:
继续…
首先,我们需要为每种语言创建对应的属性文件,命名格式为:基础名_语言代码_国家代码.properties。
例如:
messages.properties(默认,英文)messages_zh_CN.properties(简体中文)messages_ja_JP.properties(日语)
我们需要在 src/main/resources 目录下创建这些文件,为了项目结构更清晰一些,我在 resources 目录下创建 i18n ,将国际化资源文件放在这个目录:
messages.properties:
welcome.message=Welcome to For Tech Stack!
user.greeting=Hello, {0}, current time:{1}!
2
messages_zh_CN.properties:
welcome.message=欢迎来到For技术栈!
user.greeting=你好,{0}, 当前时间是:{1}!
2
- 在上面
{0}表示可以动态的传递参数,{0}表示当前词条接收的第一个参数,{1}表示接收的第二个参数。
如果应用只需要支持语言级别的国际化(如简体中文、英文等),不区分地图,使用 基础名_语言代码.properties 就足够了,国家代码可以省略。
# 2 配置 MessageSource
在 Spring 配置类中需要添加 MessageSource 配置:
package com.foooor.hellospring.config;

import org.springframework.context.MessageSource;
import org.springframework.context.annotation.Bean;
import org.springframework.context.annotation.ComponentScan;
import org.springframework.context.annotation.Configuration;
import org.springframework.context.support.ResourceBundleMessageSource;

@Configuration // 标识是配置类
@ComponentScan("com.foooor.hellospring") // 扫描包
public class SpringConfig {

    @Bean
    public MessageSource messageSource() {
        ResourceBundleMessageSource messageSource = new ResourceBundleMessageSource();
        // 指定资源文件的基础名(不包含语言和地区),相当与文件前缀,我这里文件在i18n目录下
        messageSource.setBasename("i18n/messages");

        // 如果有多个文件前缀,可以使用这个方法
        // messageSource.setBasenames("i18n/messages");

        // 设置默认编码
        messageSource.setDefaultEncoding("UTF-8");
        // 如果找不到对应的key时返回键名
        messageSource.setUseCodeAsDefaultMessage(true);
        // 对应的语言时,不要使用系统的,而是使用默认的消息
        messageSource.setFallbackToSystemLocale(false);

        return messageSource;
    }

    // 其他配置...

}
2
3
4
5
6
7
8
9
10
11
12
13
14
15
16
17
18
19
20
21
22
23
24
25
26
27
28
29
30
31
32
33
34
如果你使用的是 XML,则在 XML 中需要添加如下配置:
<!-- 配置消息源 -->
<bean id="messageSource" class="org.springframework.context.support.ResourceBundleMessageSource">
    <!-- 指定资源文件的基础名(不包含语言和地区),相当与文件前缀,可以指定多个名字 -->
    <property name="basenames">
        <list>
            <!-- 我这里文件在i18n目录下 -->
            <value>i18n/messages</value>
        </list>
    </property>
    <!-- 设置默认编码 -->
    <property name="defaultEncoding" value="UTF-8"/>
    <!-- 如果找不到对应的 key,是否使用默认的消息 -->
    <property name="useCodeAsDefaultMessage" value="true"/>
    <!-- 对应的语言时,不要使用系统的,而是使用默认的消息 -->
    <property name="fallbackToSystemLocale" value="false"/>
</bean>
2
3
4
5
6
7
8
9
10
11
12
13
14
15
16
# 3 使用国际化
配置好了以后,我们就可以在 Bean 中注入 MessageSource 并使用了。
我直接在测试类中注入并测试:
package com.foooor.hellospring;

import com.foooor.hellospring.config.SpringConfig;
import org.junit.jupiter.api.Test;
import org.springframework.beans.factory.annotation.Autowired;
import org.springframework.context.MessageSource;
import org.springframework.test.context.junit.jupiter.SpringJUnitConfig;

import java.util.Locale;

@SpringJUnitConfig(SpringConfig.class)  // 指定 Spring 配置类
public class I18nTest {

    @Autowired
    private MessageSource messageSource;

    @Test
    public void testMessageSource() {
        // 获取中文消息
        String welcome = messageSource.getMessage("welcome.message", null, Locale.SIMPLIFIED_CHINESE);
        System.out.println("----" + welcome);

        // 获取英文消息
        String greeting = messageSource.getMessage("user.greeting", new Object[]{"逗比", "2025-10-10"}, Locale.ENGLISH);
        System.out.println("----" + greeting);
    }
}
2
3
4
5
6
7
8
9
10
11
12
13
14
15
16
17
18
19
20
21
22
23
24
25
26
27
- 在上面的代码中,通过不同的语言可以获取词条对应的语言。
- 如果词条有参数,还可以传递参数。
在前后端分离的项目中,前端的国际化由前端的项目负责,而有些数据是后端传递给前端的,那么这部分国际化就需要后端来负责的。
Spring Boot 或 Spring MVC 会使用 AcceptHeaderLocaleResolver 自动从请求头中信息获取到 Accept-Language 信息,也就是语言信息,传递给 Controller,这样我们就可以拿到前端的语言,从而根据语言获取相应的词条的国际化。
但是有一个问题, Accept-Language 的信息,前端是无法修改的,是浏览器语言确定的,所以AcceptHeaderLocaleResolver 是无法实现动态切换语言的,在 SpringMVC 中需要SessionLocaleResolver 或 CookieLocaleResolver 并配合 LocaleChangeInterceptor 才能通过 URL 参数(例如 ?lang=en_US )或用户行为动态改变语言,但这属于 SpringMVC 部分,不属于 Spring 部分,就先不讲了。
← 13-资源操作 15-Spring架构图 →