Appearance
SpringBoot3教程 - 11 SpringBoot集成Mybatis-Plus
下面介绍一下在 SpringBoot 中集成 Mybatis-Plus。体会一下什么是便捷。
11.1 快速集成
1 准备数据库和表数据
sql
# 建库
CREATE DATABASE IF NOT EXISTS doubi_db;
USE doubi_db;

# 建表
CREATE TABLE tb_user(
  id varchar(32) NOT NULL COMMENT 'ID',
  username varchar(64) NOT NULL COMMENT '用户名',
  age tinyint unsigned DEFAULT NULL COMMENT '年龄',
  create_time datetime DEFAULT NULL COMMENT '创建时间',
	PRIMARY KEY (id)
) ENGINE=InnoDB DEFAULT CHARSET=utf8 COMMENT='用户表';

# 插入数据
INSERT INTO tb_user (id, username, age, create_time) VALUES
('001', 'doubi', 25, '2024-06-20 18:18:18'),
('002', 'niubi', 30, '2024-06-21 19:19:19'),
('003', 'shabi', 22, '2024-06-22 20:20:20'),
('004', 'erbi', 28, '2024-06-23 21:21:21'),
('005', 'shibi', 35, '2024-06-24 22:22:22');
2 创建项目
按照HelloWorld中的介绍,直接创建就好了,我这里项目名为 hello-mybatisplus。
准备好主启动类。
3 pom添加依赖
主要是添加 mybatis-plus 的 starter 依赖和 mysql 驱动依赖。
xml
<project xmlns="http://maven.apache.org/POM/4.0.0" xmlns:xsi="http://www.w3.org/2001/XMLSchema-instance"
  xsi:schemaLocation="http://maven.apache.org/POM/4.0.0 http://maven.apache.org/xsd/maven-4.0.0.xsd">
  <modelVersion>4.0.0</modelVersion>

  <!-- 导入继承父项目依赖 -->
  <parent>
    <groupId>org.springframework.boot</groupId>
    <artifactId>spring-boot-starter-parent</artifactId>
    <version>3.3.0</version>
  </parent>

  <groupId>com.doubibiji</groupId>
  <artifactId>hello-mybatisplus</artifactId>
  <version>1.0-SNAPSHOT</version>
  <packaging>jar</packaging>
  <name>hello-mybatisplus</name>
  <url>http://maven.apache.org</url>

  <properties>
    <project.build.sourceEncoding>UTF-8</project.build.sourceEncoding>
  </properties>

  <dependencies>
    <!-- 导入web项目的依赖,版本是spring-boot-starter-parent控制的 -->
    <dependency>
      <groupId>org.springframework.boot</groupId>
      <artifactId>spring-boot-starter-web</artifactId>
    </dependency>

    <!-- 测试依赖 -->
    <dependency>
      <groupId>org.springframework.boot</groupId>
      <artifactId>spring-boot-starter-test</artifactId>
      <scope>test</scope>
    </dependency>

    <!-- 配置文件处理器,配置文件可以有提示 -->
    <dependency>
      <groupId>org.springframework.boot</groupId>
      <artifactId>spring-boot-configuration-processor</artifactId>
      <optional>true</optional>
    </dependency>

    <!-- lombok -->
    <dependency>
      <groupId>org.projectlombok</groupId>
      <artifactId>lombok</artifactId>
      <optional>true</optional>
    </dependency>

    <!-- mysql驱动依赖!!! -->
    <dependency>
      <groupId>com.mysql</groupId>
      <artifactId>mysql-connector-j</artifactId>
      <version>8.4.0</version>
    </dependency>

    <!-- mybatis-plus依赖!!! -->
    <dependency>
      <groupId>com.baomidou</groupId>
      <artifactId>mybatis-plus-spring-boot3-starter</artifactId>
      <version>3.5.7</version>
    </dependency>

  </dependencies>

  <build>
        <plugins>
            <plugin>
                <groupId>org.springframework.boot</groupId>
                <artifactId>spring-boot-maven-plugin</artifactId>
                <configuration>
                    <excludes>
                        <exclude>
                            <groupId>org.projectlombok</groupId>
                            <artifactId>lombok</artifactId>
                        </exclude>
                    </excludes>
                </configuration>
            </plugin>
        </plugins>
    </build>

</project>
4 编写配置文件
在 application.yaml 中添加数据源配置和mybatis-plus的配置,如下:
yaml
# 数据源配置
spring:
  datasource:
    driver-class-name: com.mysql.cj.jdbc.Driver
    url: jdbc:mysql://localhost:3306/doubi_db?useUnicode=true&characterEncoding=utf8&useSSL=false&serverTimezone=GMT
    username: root
    password: 123456
    hikari:
      minimum-idle: 5  # 最小空闲连接数
      maximum-pool-size: 10  # 最大活跃连接数
      idle-timeout: 30000  # 空闲连接生命周期,以毫秒为单位
      pool-name: HikariCP  # 连接池名称,主要用于记录日志和JMX管理,默认为生成的
      max-lifetime: 1800000  # 连接在连接池中允许存在的最长时间,默认为30分钟,以毫秒为单位
      connection-timeout: 30000  # 连接超时时间,以毫秒为单位


# mybaits-plus配置
mybatis-plus:
  # MyBatis Mapper所对应的XML文件位置,这里暂时没用到
  mapper-locations: classpath*:/mapper/*Mapper.xml
  global-config:
    # 关闭MP3.0自带的banner
    banner: false
    db-config:
      # 主键类型 0:数据库ID自增 1.未定义 2.用户输入 3 id_worker 4.uuid 5.id_worker字符串表示
      id-type: assign_uuid
      #字段策略 0:"忽略判断",1:"非 NULL 判断"),2:"非空判断"
      field-strategy: NOT_NULL
      # 默认数据库表下划线命名
      table-underline: true
在 Spring Boot 中默认的连接池是 HikariCP 连接池。
下面编写pojo、mapper、service、controller。
5 编写pojo
编写与数据库映射的实体类。
User.java
java
package com.doubibiji.hellomybatisplus.pojo;

import com.baomidou.mybatisplus.annotation.TableId;
import com.baomidou.mybatisplus.annotation.TableName;
import lombok.Data;

import java.util.Date;

@Data
@TableName("tb_user")
public class User {
    @TableId
    private String id;
    private String username;
    private Integer age;
    private Date createTime;
}
6 编写Mapper
编写 Mybatis 获取数据的 Mapper。
UserMapper.java,添加 @Mapper 注解
java
package com.doubibiji.hellomybatisplus.mapper;

import com.baomidou.mybatisplus.core.mapper.BaseMapper;
import com.doubibiji.hellomybatisplus.pojo.User;
import org.apache.ibatis.annotations.Mapper;

@Mapper
public interface UserMapper extends BaseMapper<User> {
}
7 编写service
编写业务实现类service,和对应的service接口,通过 service 调用 mapper,获取数据。
UserServiceImpl.java,添加@Service注解
java
package com.doubibiji.hellomybatisplus.service.impl;

import com.doubibiji.hellomybatisplus.mapper.UserMapper;
import com.doubibiji.hellomybatisplus.pojo.User;
import com.doubibiji.hellomybatisplus.service.IUserService;
import lombok.extern.slf4j.Slf4j;
import org.springframework.beans.factory.annotation.Autowired;
import org.springframework.stereotype.Service;
import java.util.Date;

@Slf4j
@Service
public class UserServiceImpl implements IUserService {

    @Autowired
    private UserMapper userMapper;

    /**
     * 通过ID查找用户
     */
    public User getUserById(String userId) {
        log.info("根据ID查找用户, userId:{}", userId);
        User user = userMapper.selectById(userId);
        return user;
    }

    /**
     * 保存用户
     */
    public User saveUser(String username, Integer age) {
        User user = new User();
        user.setUsername(username);
        user.setAge(age);
        user.setCreateTime(new Date());
        userMapper.insert(user);

        return user;
    }
}
对应的接口,IUserService.java
java
package com.doubibiji.hellomybatisplus.service;

import com.doubibiji.hellomybatisplus.pojo.User;

public interface IUserService {
    /**
     * 通过ID查找用户
     */
    User getUserById(String userId);

    /**
     * 保存用户
     */
    User saveUser(String username, Integer age);
}
8 编写controller
通过接口调用 service,获取数据。
UserController.java
java
package com.doubibiji.hellomybatisplus.controller;

import com.doubibiji.hellomybatisplus.pojo.User;
import com.doubibiji.hellomybatisplus.service.IUserService;
import org.springframework.beans.factory.annotation.Autowired;
import org.springframework.web.bind.annotation.*;

@RestController
@RequestMapping("/user")
public class UserController {

    @Autowired
    private IUserService userService;

    /**
     * 获取用户信息
     */
    @GetMapping("/{userId}")
    public User getById(@PathVariable("userId") String userId) {
        return userService.getUserById(userId);
    }

    /**
     * 添加用户
     */
    @GetMapping("/add") // 为了方便用get请求
    public User saveUser(@RequestParam("username") String username, @RequestParam("age") Integer age) {
        return userService.saveUser(username, age);
    }
}
9 测试
请求接口添加数据:http://localhost:8080/user/add?username=doubi&age=13

请求接口获取数据:http://localhost:8080/user/b29907c655bb67f3c10e7d80958b9dbf

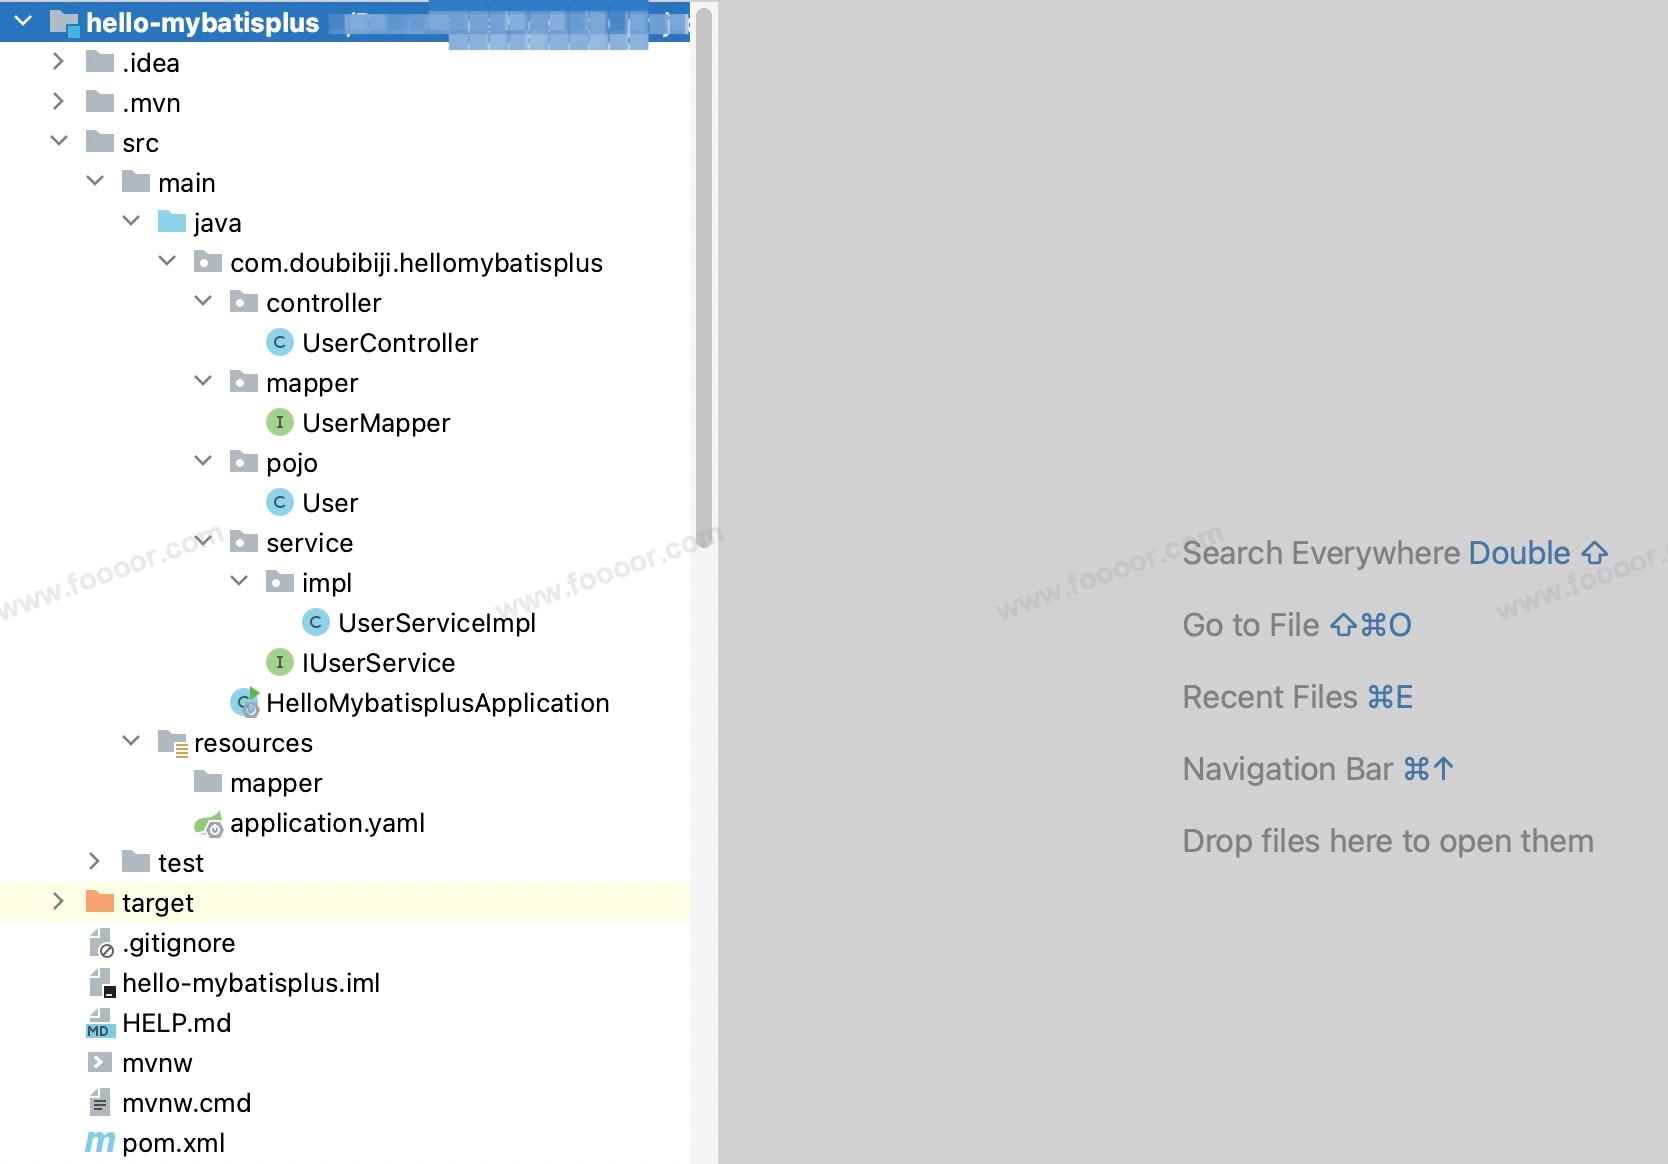
10 项目结构